Paver Cleaning & Sealing
Commercial Exterior Cleaning
Soft Window Cleaning
Pressure Washing
About Us
The exterior of your property plays a crucial role in its curb appeal. Whether you’re preparing to sell, looking to attract tenants, or simply want to stand out in your neighborhood, a pristine exterior can significantly enhance your property’s appeal.
Florida’s properties face constant exposure to intense sunshine, high humidity, and other harsh weather elements. Over time, dirt, dust, and grime accumulate, leaving your property looking dull and neglected. Often, all it takes to revive your property’s appearance is a thorough exterior cleaning.
At New Beginnings Exterior Cleaning, we understand the value of your investment. Our team of professional, experienced, and certified technicians is dedicated to delivering top-notch results. We adhere to the highest standards of safety and quality, ensuring that each client receives personalized solutions tailored to their unique needs.
Whether you’re a homeowner, commercial property manager, or construction company, you can rely on us to provide the perfect solution for your specific requirements.
Contact us today to learn more about our services and request a quote. Let New Beginnings Exterior Cleaning breathe new life into your property.
AFFORDABLE PRICES
ON TIME AND ON BUDGET
EXPERIENCED AND SKILLED PROFESSIONAL
Why Us
Fully Insured
Rest easy knowing New Beginnings Exterior Cleaning is fully insured, providing you with reliable, professional services and peace of mind every step of the way.
Experienced Professionals
Our team at New Beginnings Exterior Cleaning consists of experienced professionals dedicated to delivering exceptional results with the highest level of expertise and care.
Customized Services
At New Beginnings Exterior Cleaning, we offer customized services tailored to meet your specific needs, ensuring the perfect solution for your property every time.
Eco-Friendly Solutions
We prioritize the environment by using eco-friendly solutions that are safe for your property and the planet, while still delivering powerful cleaning results.
Affordable Rates
Enjoy top-quality exterior cleaning services at affordable rates, making professional care accessible without compromising on quality.
Customer Satisfaction
Your satisfaction is our priority. We’re committed to delivering exceptional service and ensuring you’re thrilled with the results.
Years Experience
Projects Executed
Customer Satisfaction
Portfolio
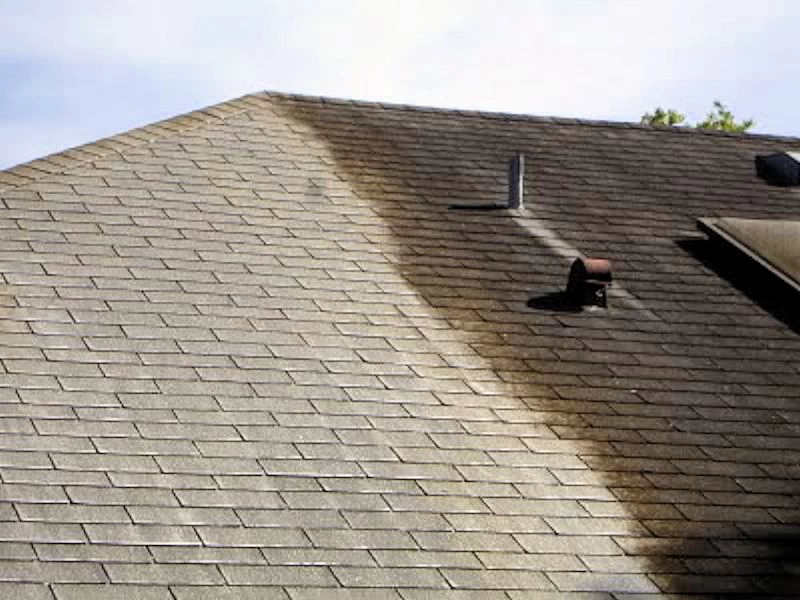
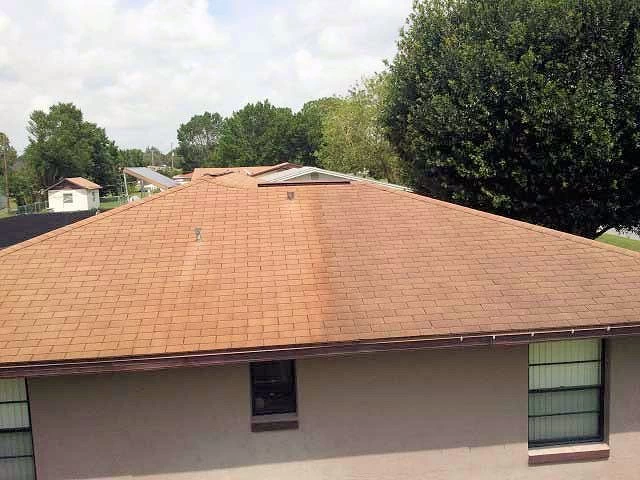
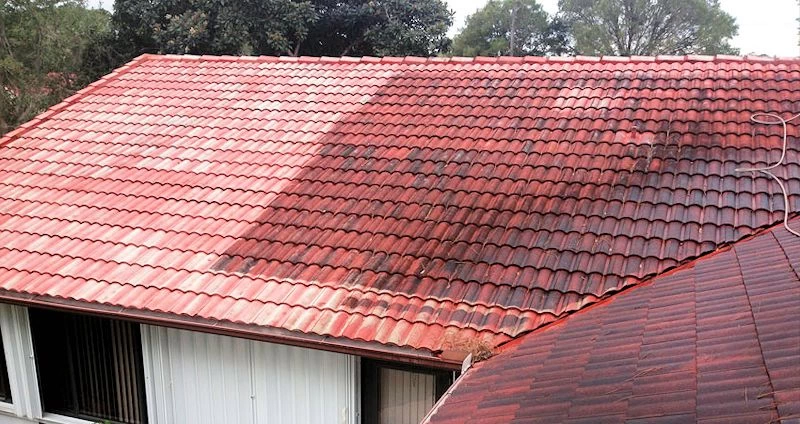
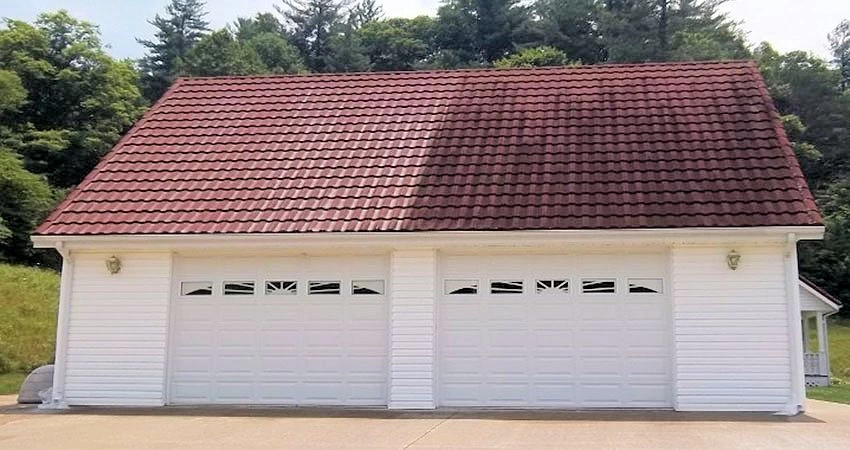
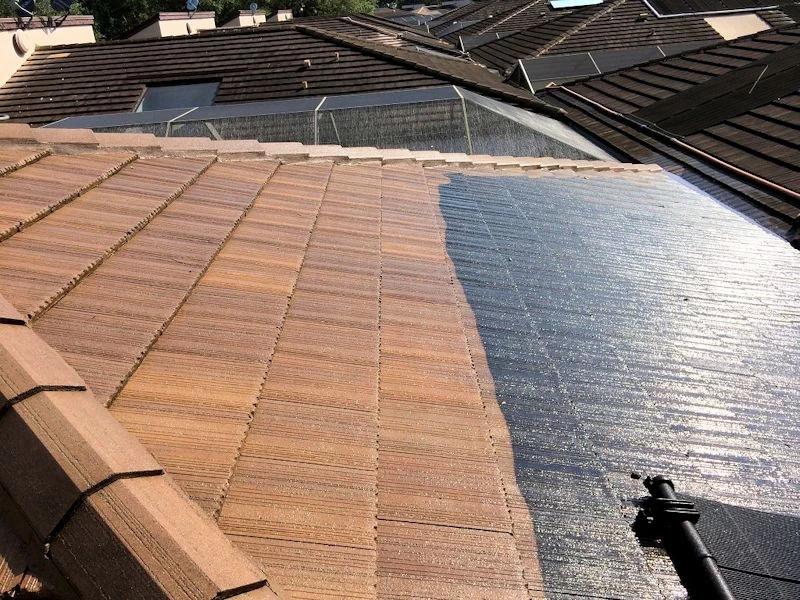
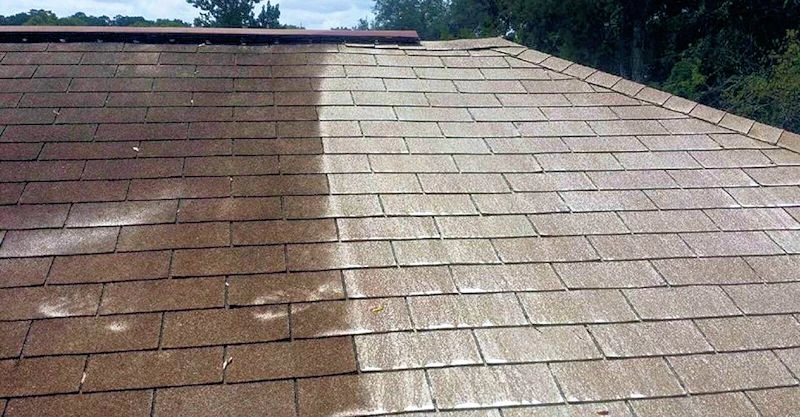
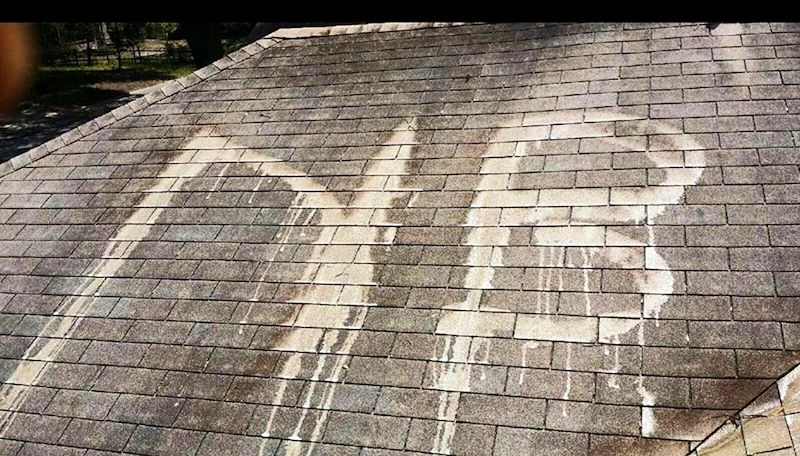
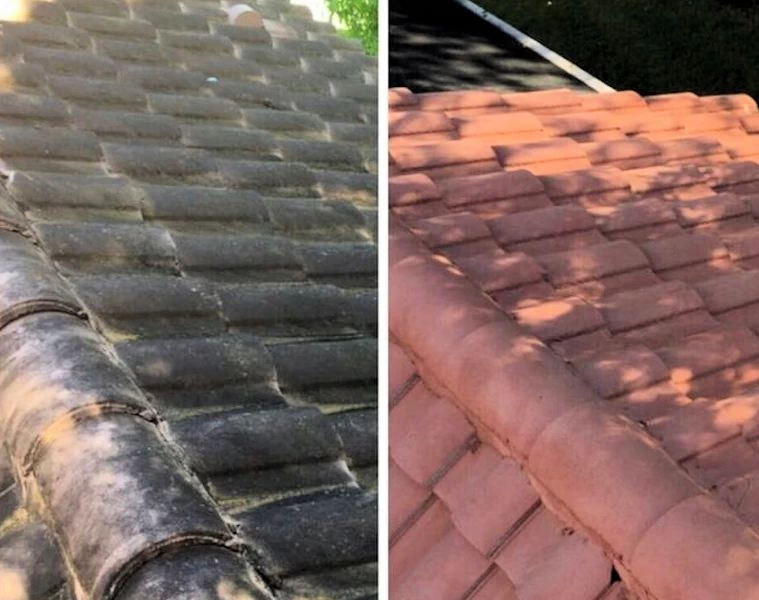
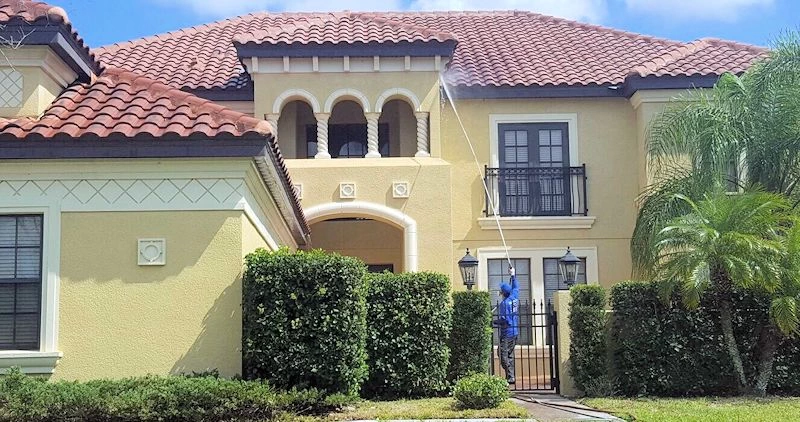
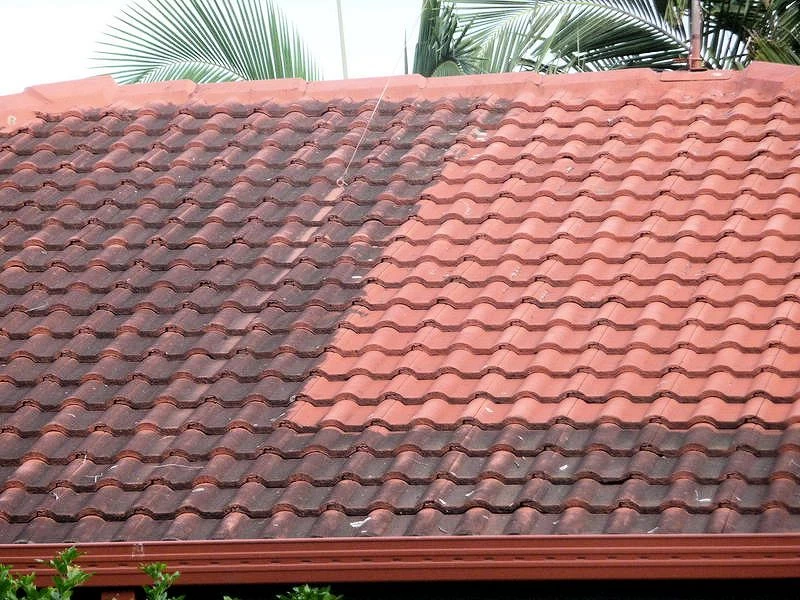
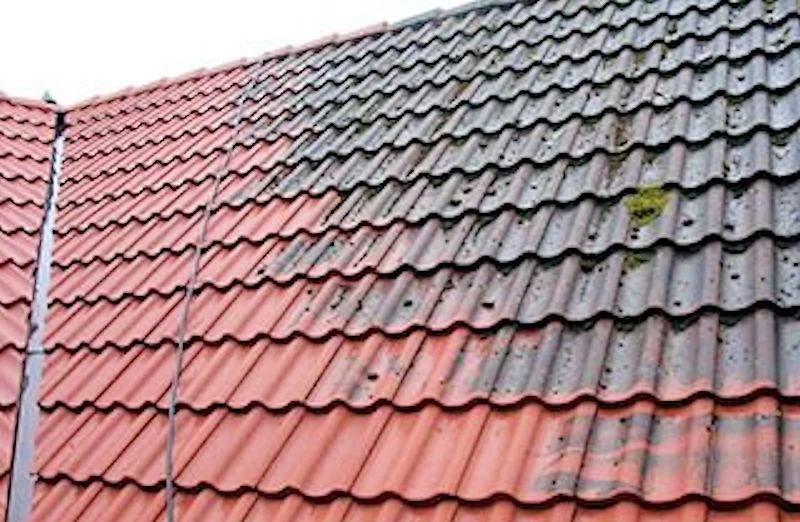
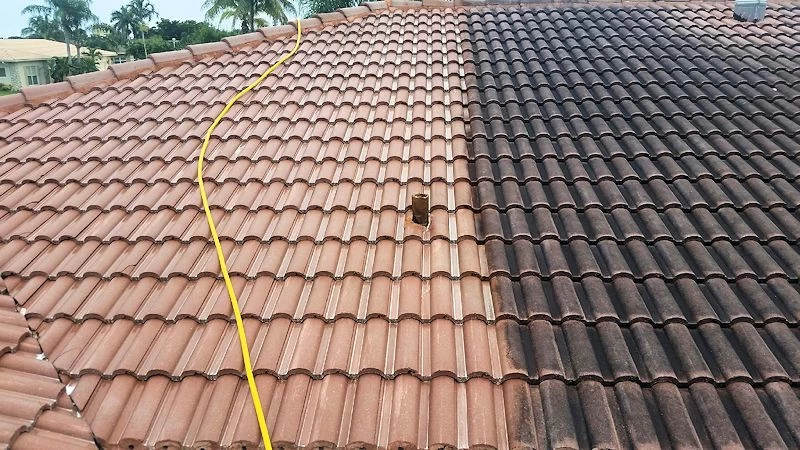
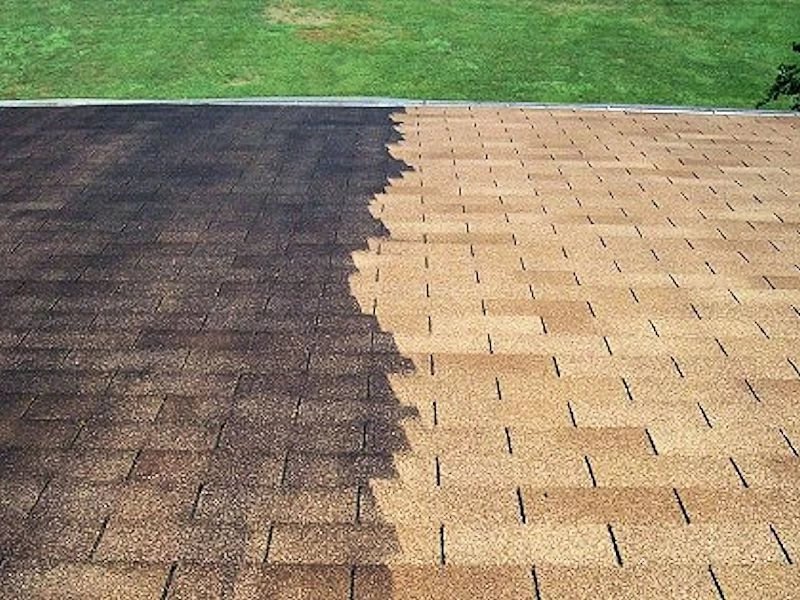
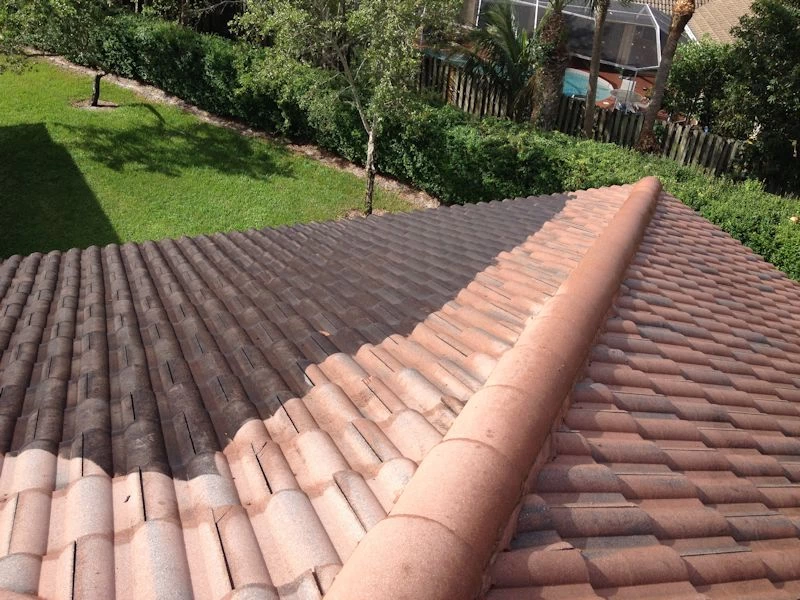
Here are some of the amazing projects we have worked on.

Frequently Asked Questions
Find quick answers for most common questions
Yes, cleaning your roof is necessary for several important reasons:
-
Prevent Damage: Over time, algae, moss, and lichen can accumulate on your roof, leading to damage. These organisms can hold moisture against the roof’s surface, causing shingles to deteriorate and potentially leading to leaks.
-
Extend Roof Lifespan: Regular cleaning removes harmful elements like debris, mold, and algae, which can cause the roof to deteriorate more quickly. A clean roof lasts longer, saving you money on premature repairs or replacements.
-
Improve Curb Appeal: A clean roof enhances the overall appearance of your home or commercial property. A roof covered in stains or moss can make the entire property look neglected.
-
Energy Efficiency: Dark stains caused by algae can absorb heat, increasing your cooling costs in warm weather. Cleaning the roof helps maintain its reflective properties, contributing to better energy efficiency.
-
Maintain Property Value: A well-maintained roof adds to the value of your property. If you’re planning to sell, a clean roof can make a significant difference in attracting potential buyers.
-
Prevent Health Issues: Mold and algae growth on the roof can spread to other areas of your home, potentially leading to health issues for occupants, especially those with allergies or respiratory conditions.
Regular roof cleaning is an essential part of property maintenance that protects your investment and ensures your roof remains in good condition for years to come.
The timing of roof cleaning can depend on several factors, but here are some general guidelines to help you determine the best time:
-
Seasonal Considerations:
- Spring or Fall: These seasons are ideal for roof cleaning. The weather is generally mild, reducing the risk of extreme temperatures that could affect cleaning solutions or cause slippery conditions.
- Avoid Winter: If you live in an area with freezing temperatures, it’s best to avoid cleaning your roof in winter. Water and cleaning solutions can freeze, leading to dangerous conditions and potential damage.
-
After Severe Weather:
- Post-Storm: It’s a good idea to inspect and clean your roof after severe storms or high winds, which can leave debris such as branches or leaves that can clog gutters and cause damage.
- Rainy Seasons: If you experience heavy rainfall, the moisture can lead to increased growth of algae and moss. Cleaning the roof after a rainy period can help address these issues before they cause significant damage.
-
When You Notice Problems:
- Visible Stains or Growth: If you see black streaks, green algae, or moss growing on your roof, it’s time to clean it. These issues can worsen over time, leading to more significant damage if not addressed promptly.
- Debris Accumulation: If you notice an accumulation of leaves, branches, or other debris on your roof or in your gutters, it’s a good idea to schedule a cleaning.
-
Routine Maintenance:
- Annual or Biennial Cleaning: For most roofs, having a professional cleaning done every 1 to 2 years is sufficient to prevent buildup of debris and growth of algae or moss. However, the frequency may vary depending on your local climate and the type of roof you have.
Regular inspections can help you determine the best times to clean your roof and ensure it remains in good condition.
There are several methods for cleaning a roof, each suited to different types of roofs and levels of buildup. Here’s a rundown of the most common methods:
-
Pressure Washing:
- Description: Uses a high-pressure stream of water to remove dirt, debris, and algae.
- Pros: Effective for removing stubborn debris and stains.
- Cons: Can be too harsh for some roof types, potentially causing damage to shingles or tiles if not used correctly. Not recommended for delicate surfaces or asphalt shingles.
-
Soft Washing:
- Description: Involves a lower pressure water spray combined with special cleaning solutions.
- Pros: Gentle on the roof while effectively removing algae, mold, and stains. Suitable for most roofing materials, including asphalt shingles, tile, and metal.
- Cons: Requires proper application to ensure effectiveness.
-
Chemical Cleaning:
- Description: Uses specialized cleaning solutions, such as bleach or other roof-safe chemicals, to dissolve and remove algae, moss, and stains.
- Pros: Effective at removing organic growth like algae and moss. Often used in conjunction with soft washing.
- Cons: Chemicals need to be applied carefully to avoid damage to plants, siding, or other parts of the property. Requires proper rinsing to avoid residue.
-
Manual Cleaning:
- Description: Involves physically removing debris using tools like brushes, rakes, or scoops.
- Pros: Useful for removing large debris like leaves and branches. Minimizes risk of damage from high pressure.
- Cons: Labor-intensive and may not effectively remove stains or algae. Risks include potential damage if not done carefully.
-
Steam Cleaning:
- Description: Uses high-temperature steam to clean and sanitize the roof.
- Pros: Can effectively kill mold, algae, and bacteria without harsh chemicals.
- Cons: Can be more expensive and less commonly available. Requires specialized equipment.
-
Roof Vacuuming:
- Description: Uses a vacuum system to remove loose debris from the roof.
- Pros: Gentle on the roof surface and effective at removing dry debris.
- Cons: May not be suitable for wet or sticky debris, and does not address stains or algae.
Tips for Roof Cleaning:
- Consult a Professional: For best results and to avoid damage, it’s often wise to hire a professional roof cleaning service, especially for complex or delicate roofs.
- Check Manufacturer Recommendations: Follow the roof manufacturer’s guidelines to avoid voiding warranties or causing damage.
- Safety First: Always prioritize safety when cleaning a roof. Use appropriate safety gear and consider professional help if you’re unsure about doing it yourself.
Selecting the right method depends on your roof type, the extent of cleaning needed, and any specific manufacturer recommendations.
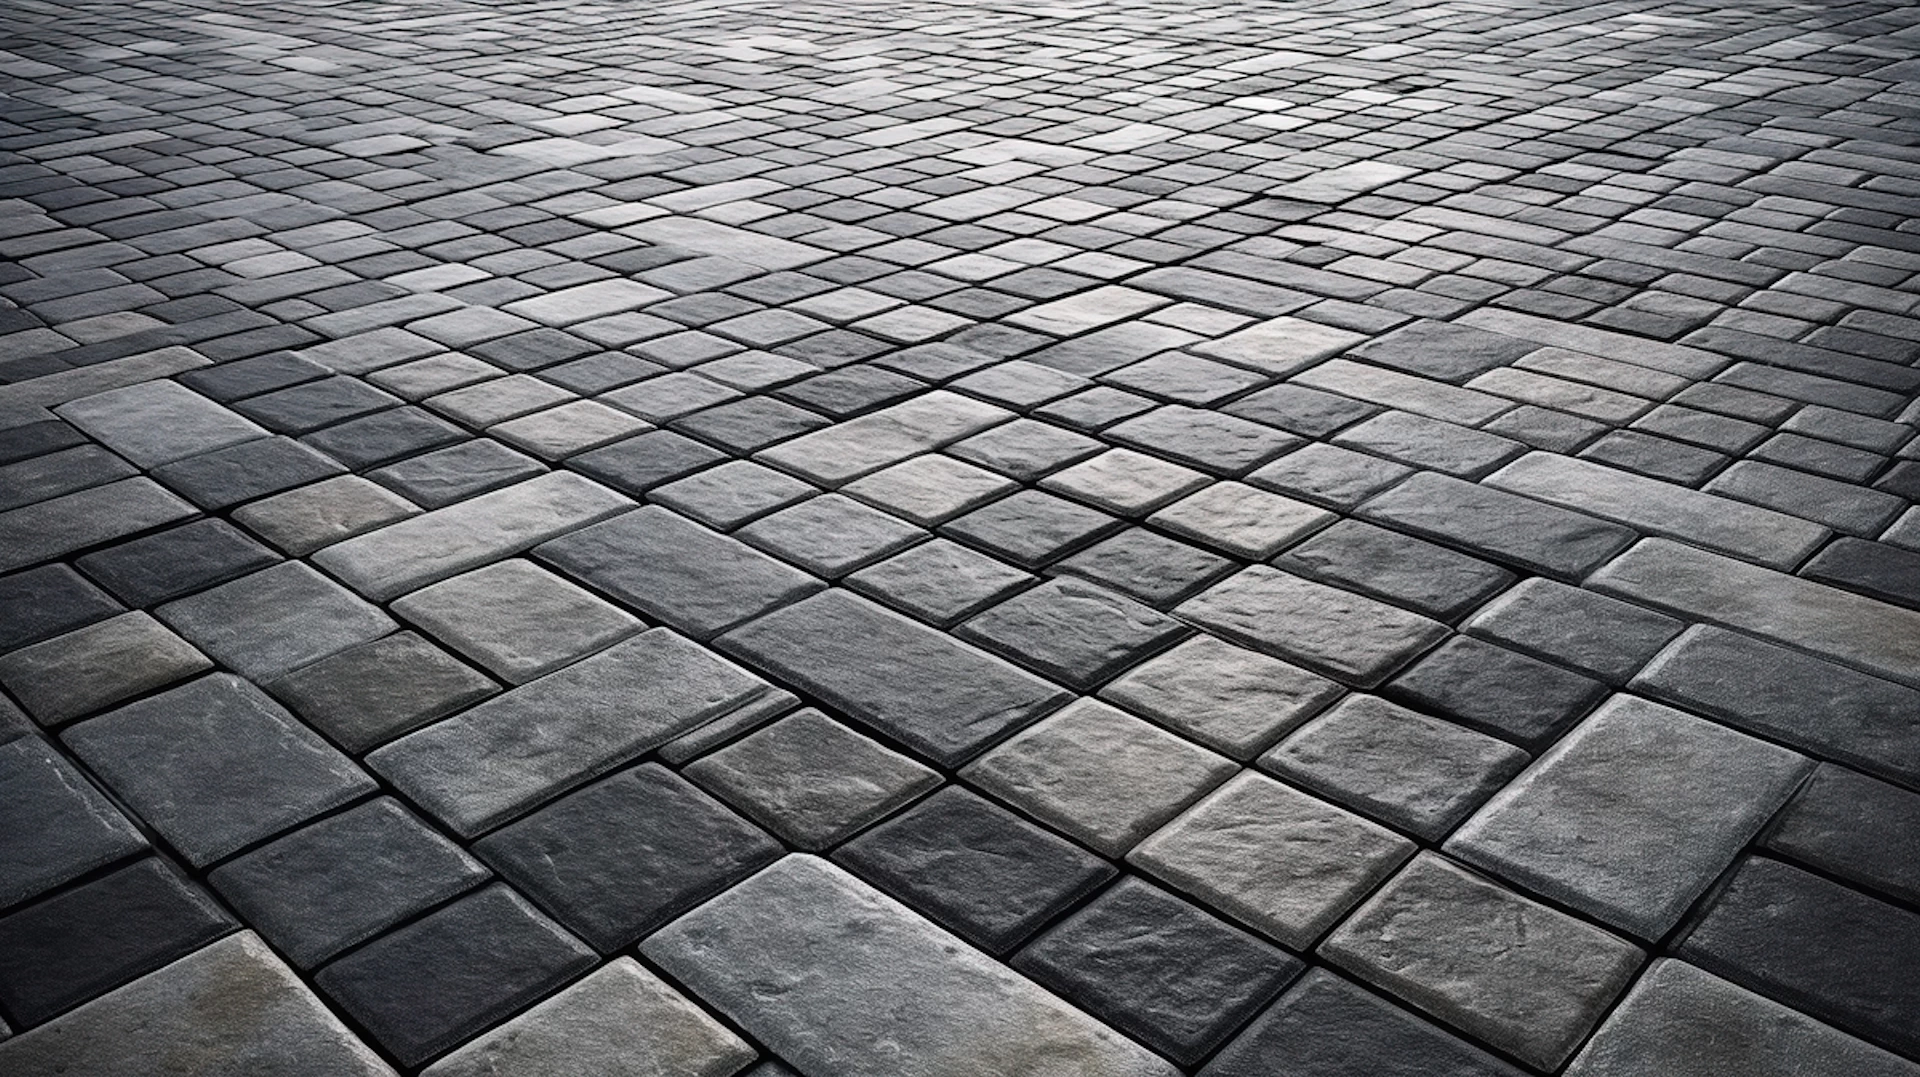
Cleaning and sealing pavers involves several steps to ensure they look great and are protected from the elements. Here’s a detailed guide on how to clean and seal pavers:
Cleaning Pavers
-
Remove Debris:
- Tools: Broom, leaf blower, or vacuum.
- Steps: Sweep or blow off leaves, twigs, and other debris from the paver surface.
-
Pre-Treat Stains:
- Tools: Stain remover or cleaner suitable for pavers.
- Steps: Apply a stain remover to any oil, grease, or other stains. Follow the manufacturer’s instructions and let it sit for the recommended time.
-
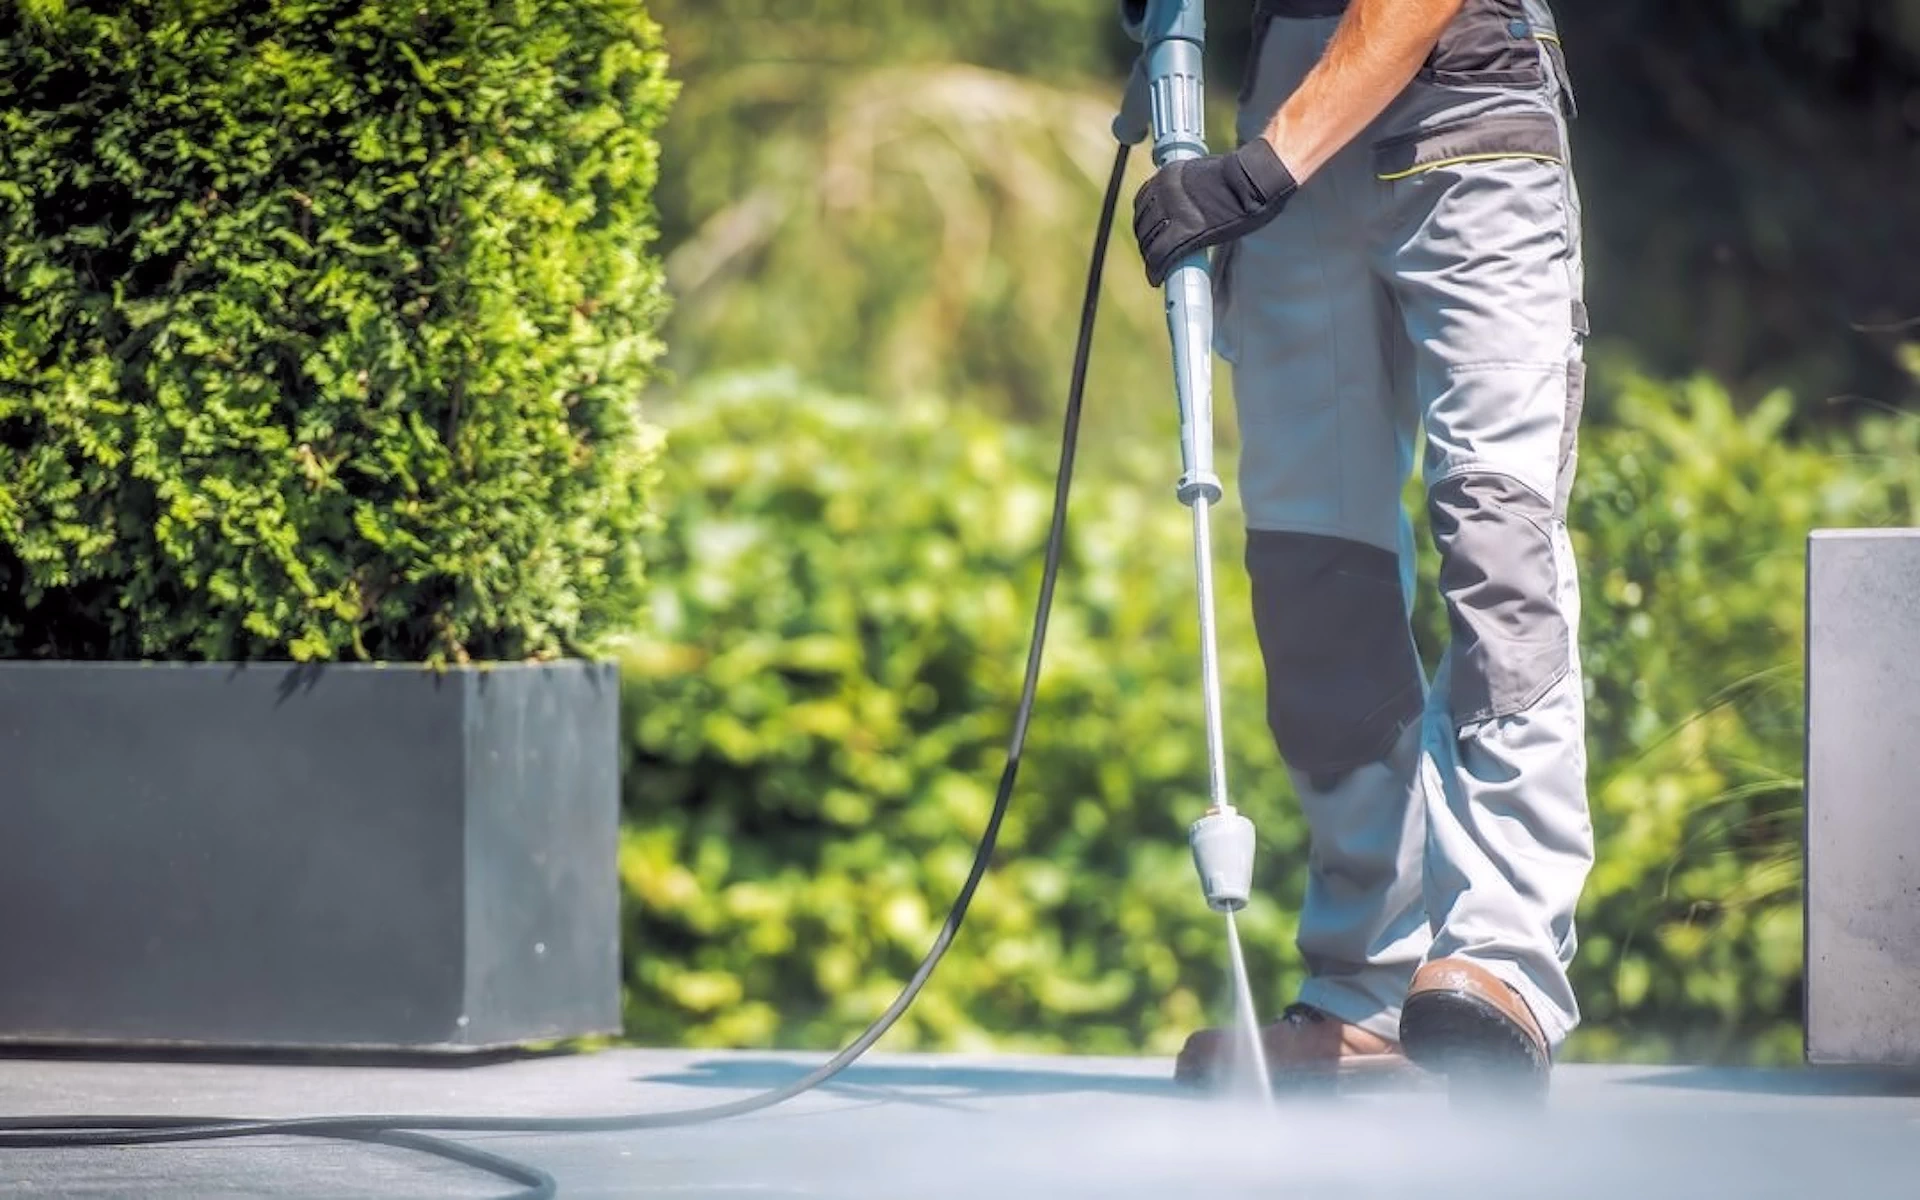
Pressure Wash the Surface:
- Tools: Pressure washer with a fan tip nozzle.
- Steps: Start washing the pavers, working in small sections. Hold the nozzle at a slight angle and maintain a consistent distance to avoid damaging the pavers. Be cautious with high pressure on delicate surfaces.
-
Scrub the Pavers:
- Tools: Deck brush or scrub brush.
- Steps: For stubborn dirt and grime, use a brush with a mild detergent. Scrub the pavers and rinse thoroughly with water.
-
Remove Weeds and Moss:
- Tools: Weed killer or vinegar solution.
- Steps: Apply a weed killer or a mixture of vinegar and water to the joints to kill any weeds or moss. Use a brush or hand tools to remove them.
-
Let the Pavers Dry:
- Steps: Allow the pavers to dry completely before applying any sealer. This could take 24 to 48 hours depending on weather conditions.
Sealing Pavers
-
Choose the Right Sealer:
- Types: There are two main types of sealers—enhancing (which highlights the color and texture) and penetrating (which provides a protective barrier without changing appearance).
- Considerations: Select a sealer based on the type of pavers you have and the desired finish.
-
Prepare the Area:
- Tools: Painter’s tape or plastic sheeting.
- Steps: Protect surrounding areas such as grass, plants, or walls from the sealer. Use painter’s tape to cover edges if necessary.
-
Apply the Sealer:
- Tools: Paint roller, sprayer, or brush (depending on the type of sealer and paver surface).
- Steps: Apply the sealer in a thin, even coat. Work in small sections to ensure the sealer is evenly distributed. Follow the manufacturer’s instructions for application techniques and coverage.
-
Allow the Sealer to Dry:
- Steps: Let the sealer dry according to the manufacturer’s recommendations. This can vary from a few hours to 24 hours or more. Avoid foot traffic and cleaning the surface until the sealer is fully cured.
-
Apply a Second Coat (if necessary):
- Steps: Depending on the type of sealer and the paver’s condition, a second coat may be recommended. Follow the same application process for the second coat, if applicable.
Maintenance Tips
- Regular Cleaning: To maintain the appearance of your pavers, regularly sweep and clean them. Avoid using harsh chemicals that can damage the sealer.
- Re-Sealing: Depending on the traffic and weather conditions, you may need to re-seal your pavers every 1 to 3 years.
Proper cleaning and sealing will help extend the life of your pavers and keep them looking beautiful for years to come.
A white film on pavers after sealing, often referred to as “whiting,” can occur due to several reasons:
-
Trapped Moisture:
- Cause: The most common reason for a white film is trapped moisture underneath the sealer. This happens when the pavers are not completely dry before sealing, causing moisture to become trapped and appear as a white haze.
- Solution: Ensure pavers are thoroughly dried before sealing. If moisture has already been trapped, you may need to strip the sealer and allow the pavers to dry completely before reapplying.
-
Improper Sealer Application:
- Cause: Using too much sealer or applying it too thickly can lead to a white film as it dries unevenly or traps moisture.
- Solution: Apply the sealer in thin, even coats according to the manufacturer’s instructions. Avoid over-applying.
-
Wrong Type of Sealer:
- Cause: Certain sealers, especially solvent-based ones like xylene or acrylic, are more prone to whiting if not used properly. These sealers can trap moisture more easily.
- Solution: Use the appropriate sealer recommended for your paver type and ensure it is compatible with your local climate.
-
High Humidity or Dew:
- Cause: Applying sealer in high humidity or when dew is present can lead to whiting as the moisture in the air can get trapped beneath the sealer.
- Solution: Choose a dry day with low humidity for sealing. Avoid sealing if the weather forecast predicts high humidity or dew.
-
Contaminated Surface:
- Cause: If the paver surface is not properly cleaned and prepped before sealing, contaminants can cause a white film.
- Solution: Clean the pavers thoroughly before sealing to remove any dirt, dust, or residues.
-
Chemical Reaction:
- Cause: A chemical reaction between the sealer and the paver surface or previous coatings can sometimes result in a white film.
- Solution: Ensure compatibility of the sealer with the paver type and any previous treatments. Test a small area first if unsure.
Remedies for Whiting
-
Strip and Reseal:
- If whiting occurs, you may need to strip the old sealer completely using a sealer stripper. Once the pavers are fully dry, reapply the correct sealer in appropriate conditions.
-
Professional Help:
- For persistent issues, consider consulting a professional who can properly assess and remedy the problem.
Preventing whiting involves careful preparation, correct product application, and choosing the right weather conditions for sealing.
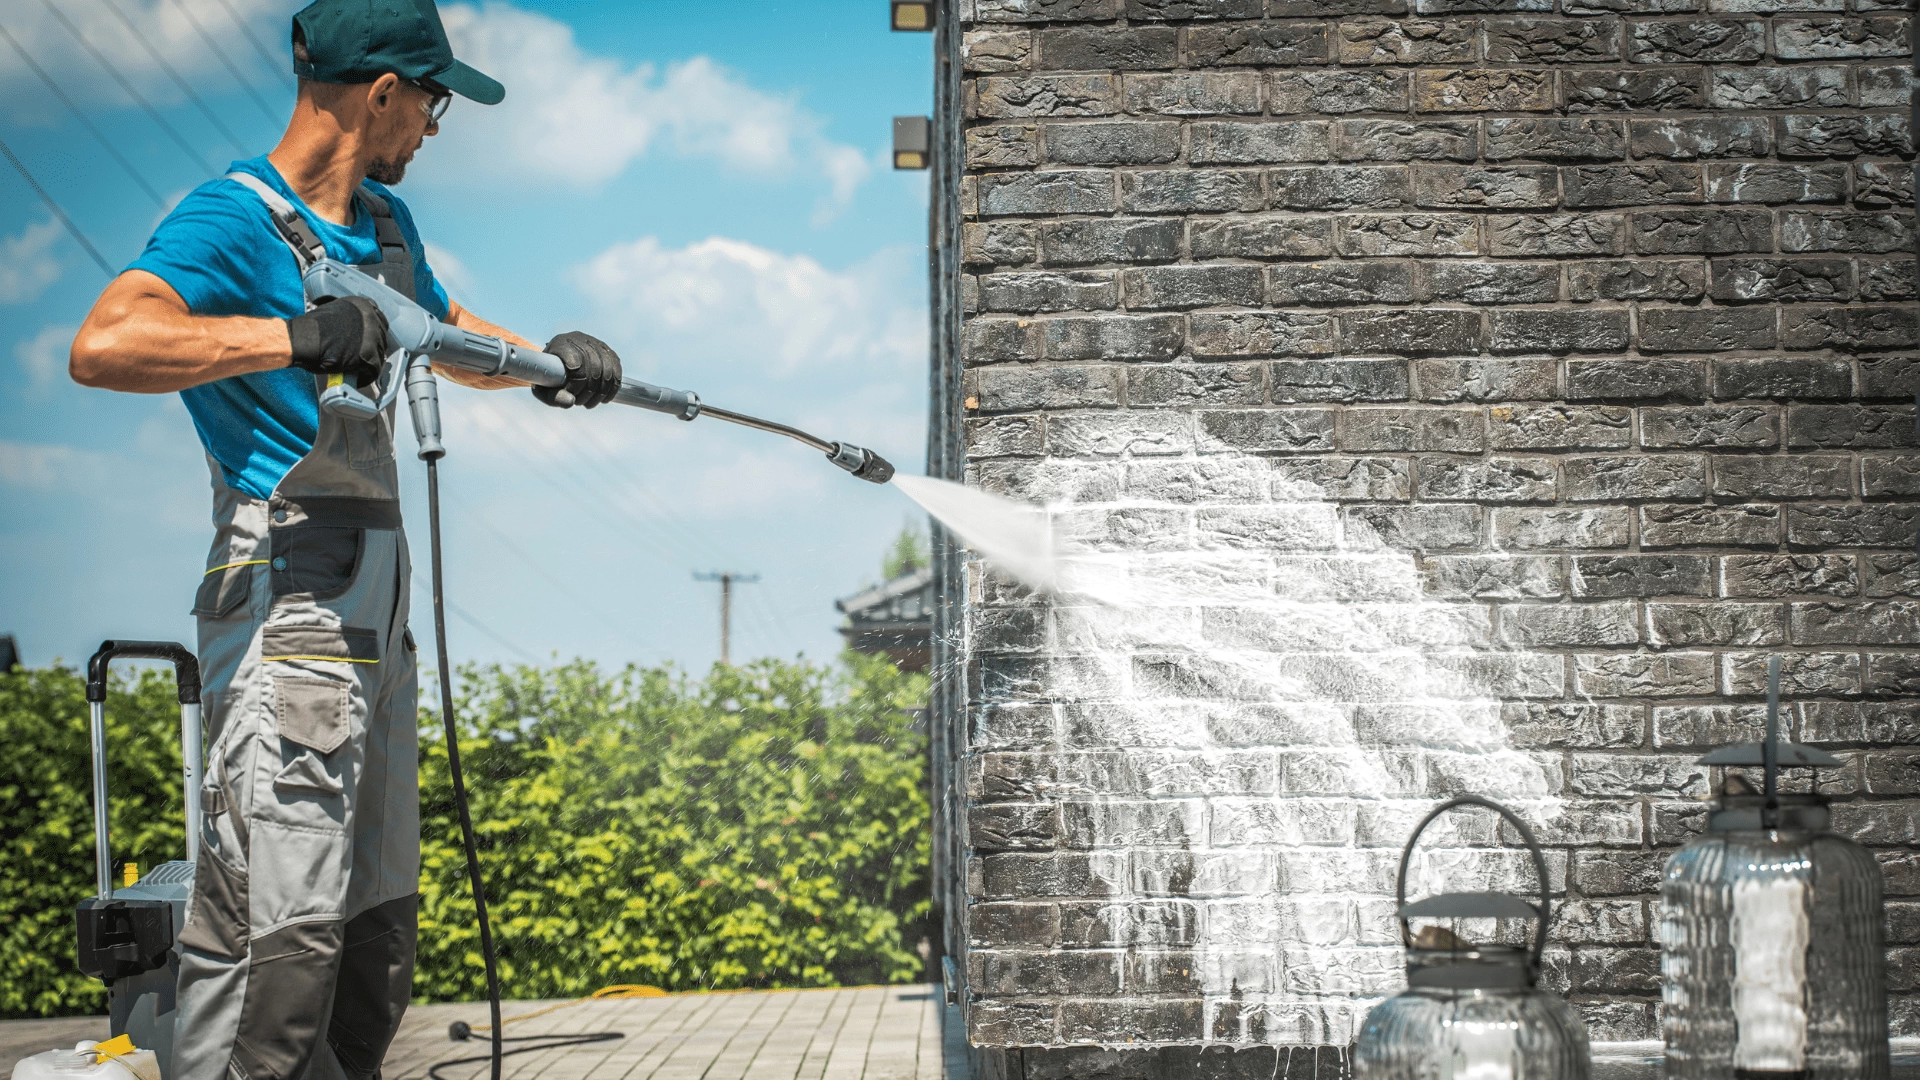
Using a professional pressure washing service can be a good idea for several reasons:
Advantages of Professional Pressure Washing Services
-
Expertise and Experience:
- Professionals have the experience and knowledge to handle different types of surfaces and understand the appropriate pressure and techniques to use, minimizing the risk of damage.
-
Proper Equipment:
- Professionals use high-quality, industrial-grade equipment that can deliver superior cleaning results compared to consumer-grade machines. They also have access to specialized attachments and cleaning solutions.
-
Safety:
- Pressure washing can be hazardous if not done correctly. Professionals are trained to use the equipment safely and are aware of potential risks, including slip hazards, electrical issues, and damage to property.
-
Efficient and Thorough Cleaning:
- With their expertise and equipment, professionals can complete the job more efficiently and thoroughly, often achieving better results than DIY methods.
-
Time-Saving:
- Hiring a professional saves you time and effort. They handle all aspects of the cleaning process, allowing you to focus on other tasks.
-
Prevention of Damage:
- Incorrect pressure levels or improper techniques can damage surfaces, such as siding, roofs, or pavers. Professionals know how to adjust pressure and use techniques that prevent damage.
-
Knowledge of Best Practices:
- Professionals are familiar with industry best practices, including the appropriate cleaning solutions for different surfaces and environmental considerations.
When to Consider Professional Pressure Washing
- Large Areas: If you have extensive surfaces to clean, such as large driveways, decks, or building exteriors, a professional can handle the task more effectively.
- Delicate Surfaces: For surfaces that are more susceptible to damage, such as painted areas, delicate masonry, or certain types of siding, a professional can ensure the right approach is used.
- Stubborn Stains or Mold: If you have tough stains, mold, or mildew that are difficult to remove, a professional has access to specialized cleaners and techniques.
- Safety Concerns: If you’re unsure about safely using pressure washing equipment or dealing with high or hard-to-reach areas, a professional can handle these safely.
DIY Pressure Washing
If you choose to do it yourself, consider the following:
- Proper Training: Educate yourself on how to use the equipment correctly and the appropriate pressure levels for different surfaces.
- Safety Gear: Use safety goggles, gloves, and non-slip footwear.
- Correct Equipment: Ensure you have the right pressure washer and attachments for your task.
- Preparation: Prepare the area properly, including covering plants, windows, and electrical outlets.
Overall, while DIY pressure washing can be effective for smaller jobs or when done with caution, a professional service is often the best choice for larger or more complex tasks.
